I started this blog 11 years ago. Silas had just been born and my life felt so different. We had bought a house that needed a lot of TLC and I was looking for a creative outlet while I adjusted to being a stay at home mom. So this space was created as a way for me to document our new little journey as a family of 3.
Fast forward and here I sit with another turn of seasons. We are currently in a temporary home, we started a new church a year ago, I opened a shop selling my handmade jewelry and goods and Silas is about to be a middle schooler. Sometimes I feel like I have blinked and other days it seems like the days have crept along. Life is so amazing that way.
Since we are embarking on a major home renovation I felt like this was a really great moment to open this space back up and document this crazy journey of rebuilding a house. Honestly, If I'm the only one who looks at this blog anymore I'm good with that. I want to remember this season and celebrate the good things that are currently taking place. It's a very full year for us and at times overwhelming. There are so many decisions being made daily, things are moving more slowly than expected and we are learning so much about what it takes to get through a major remodel together.
I'll be sharing more specific things about our home remodel soon. Honestly, it's hard to even know where to start. I'll begin by saying this project is not typical. It's been a slow plan, one step at a time thing for us. We have had some great, more educated people help us with the pre-planning phase. We had an amazing lender who worked through the best financing for our budget. And, we have had so many talented people in the construction world come alongside of us to get this house built. We are seriously humbled by the support and help offered our way, even in the early stages.
Most people will think we are crazy. But I think we are used to that by now. I feel like we haven't always gone by the book in life. We love an adventure and this feels like a big one. So without any more intro: Here is a little overview of where we are right now with our house plans-
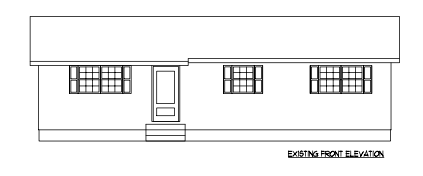
Our little old house (which we truly love so much) was really in need of some major repairs. We prayed and talked through the best approach for handling the situation. What we came to, was realizing that this was a great moment for us to go all in. We could spend a lot of money patching and repairing. Or we could just take it down to the foundation and build something that would be a good place for our family to grow in for the years to come. This is our home and we love our neighborhood - and let's face it...where are we going to find anything we can afford right now in the Triangle area? So we began the search for someone who could design something that fits our needs, wants and budget. And wow, were we blown away at the creativity and beautiful plans they came up with!
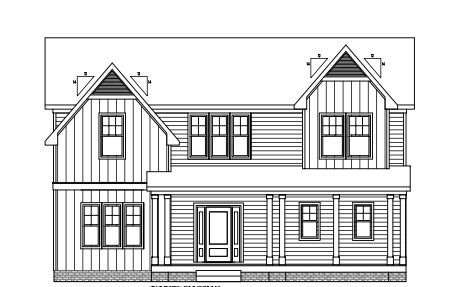
Our architect and structural Engineer really worked with us to give us a house that used the footprint we already had really well. Everything we asked for they managed to make happen. I would strongly recommend them to anyone in the area looking at home renovations or new builds.
When we settled on the final designs we got all approved for our loan, moved out and began the demo work.
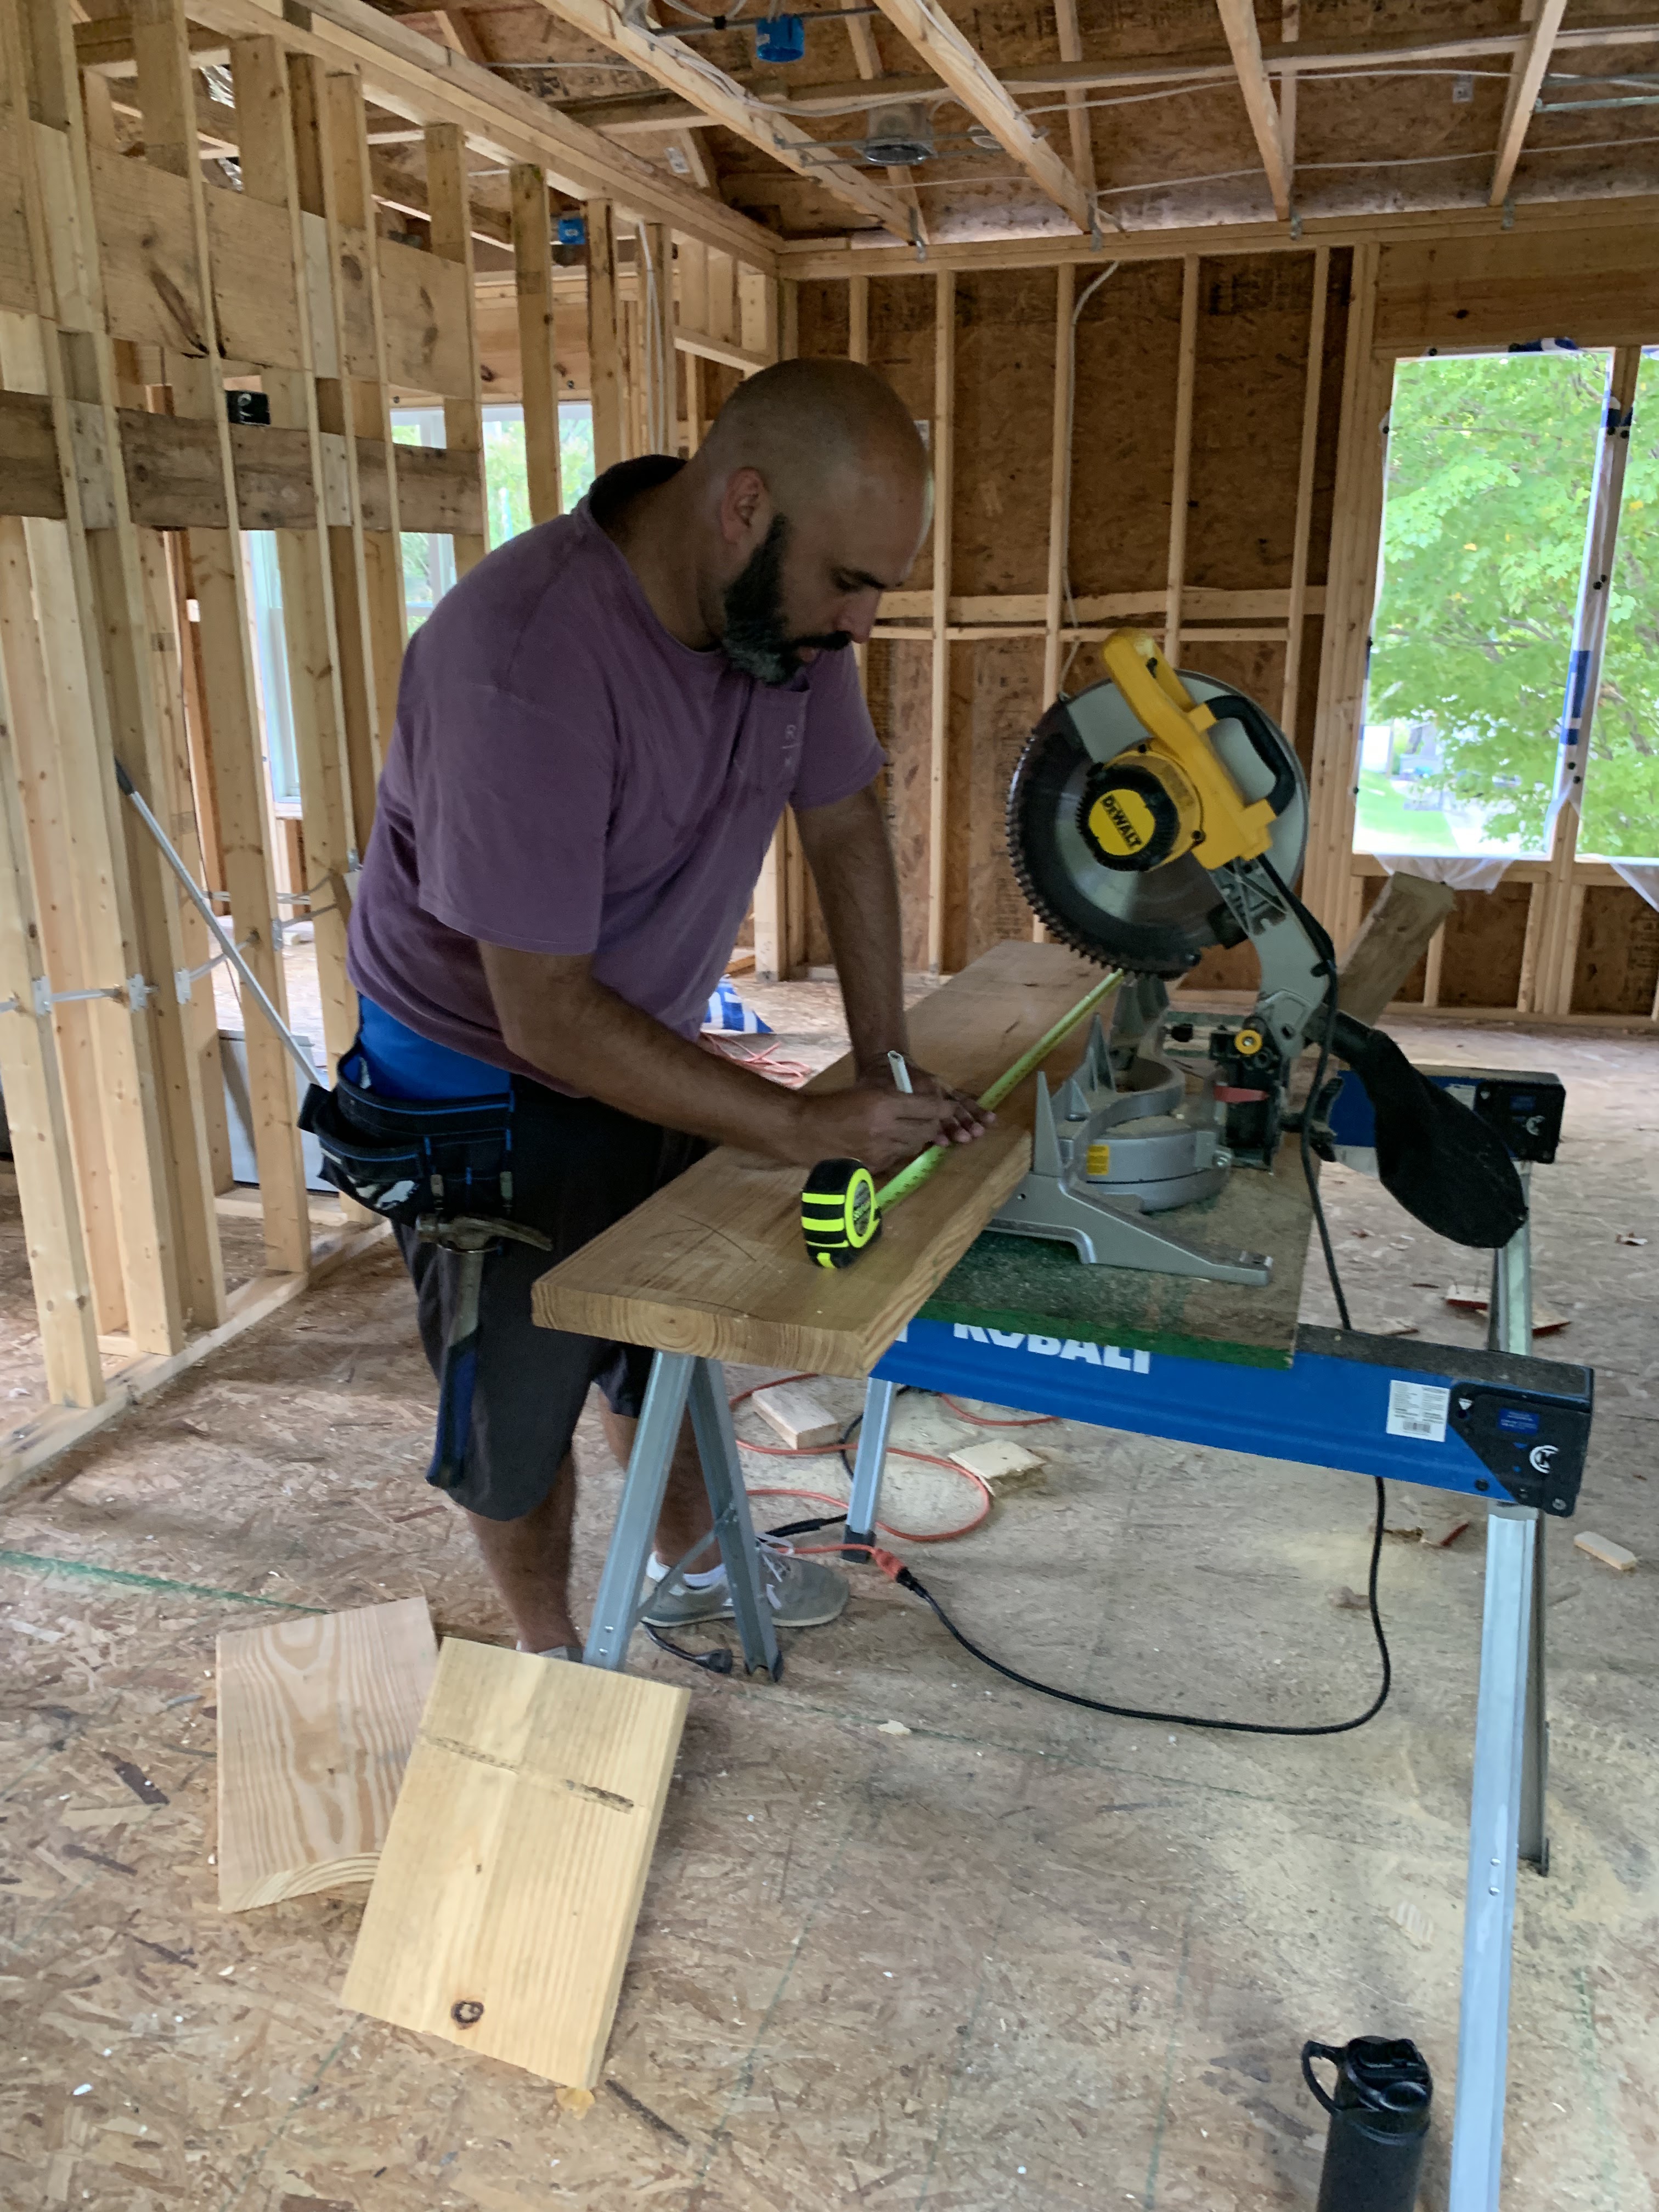
After talking with several General Contractors we came to the conclusion that we were going to do this ourselves. Justin is the GC for our house project. Crazy, we know. But also, not for us. It puts a lot of the decisions in our hands and gives us total freedom on how to do the work. We can use our own subcontractors and choose which parts of the project to do ourselves to save money. It's taking a little bit longer to go this route but for us it's worth it. How cool is it going to be when we move in and know we did this ourselves?
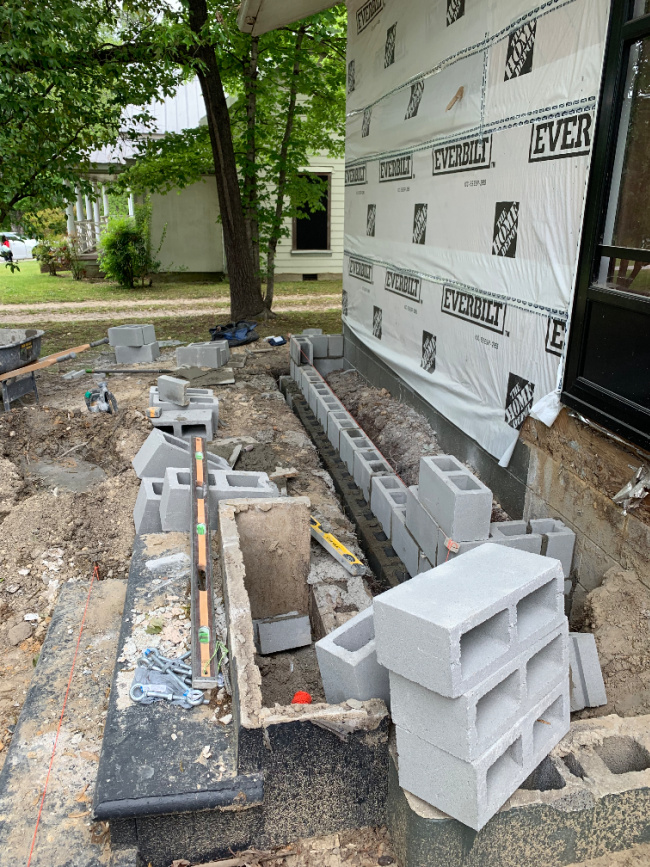
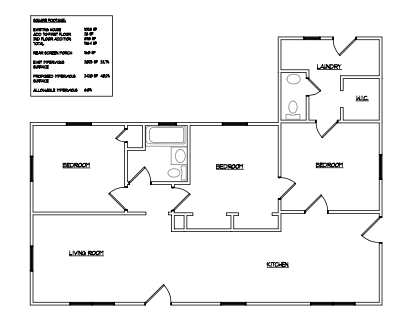
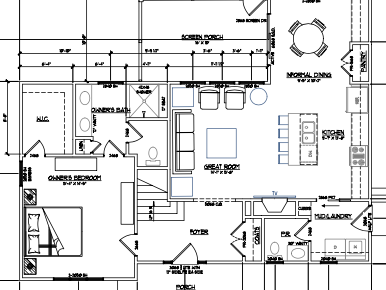
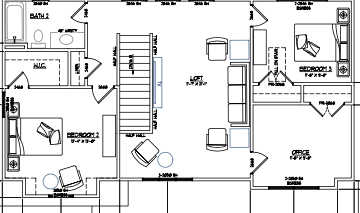
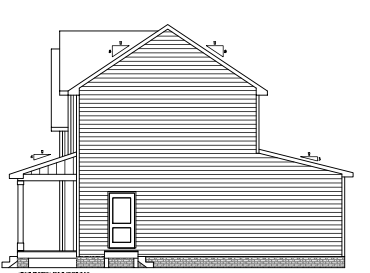
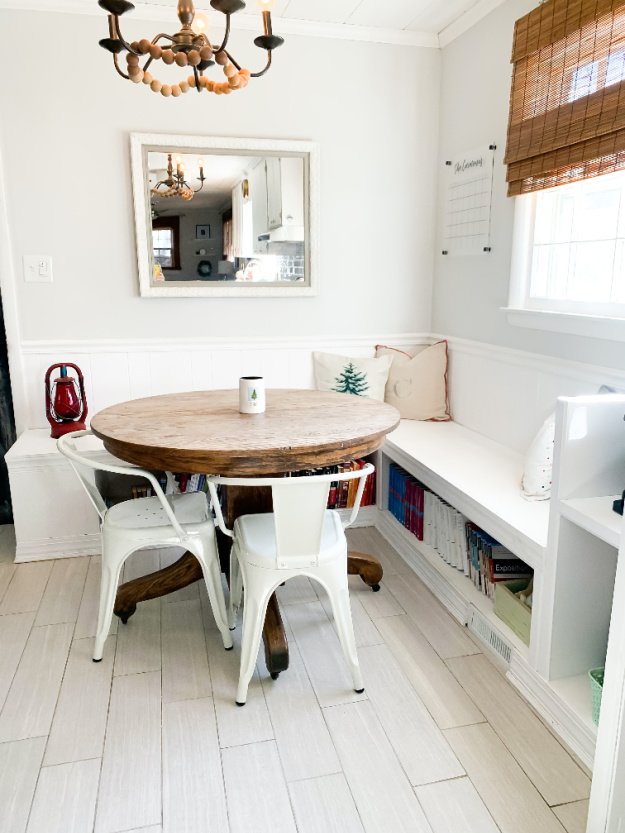
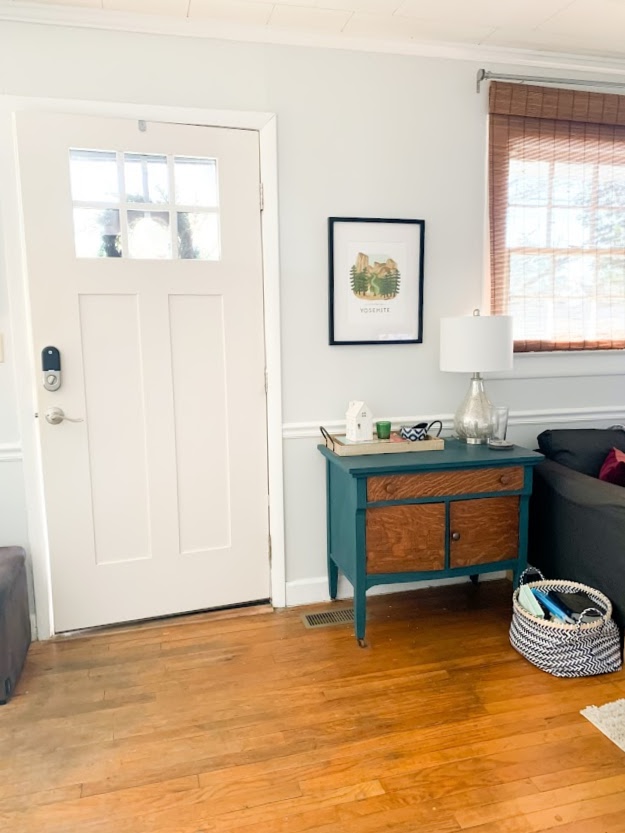
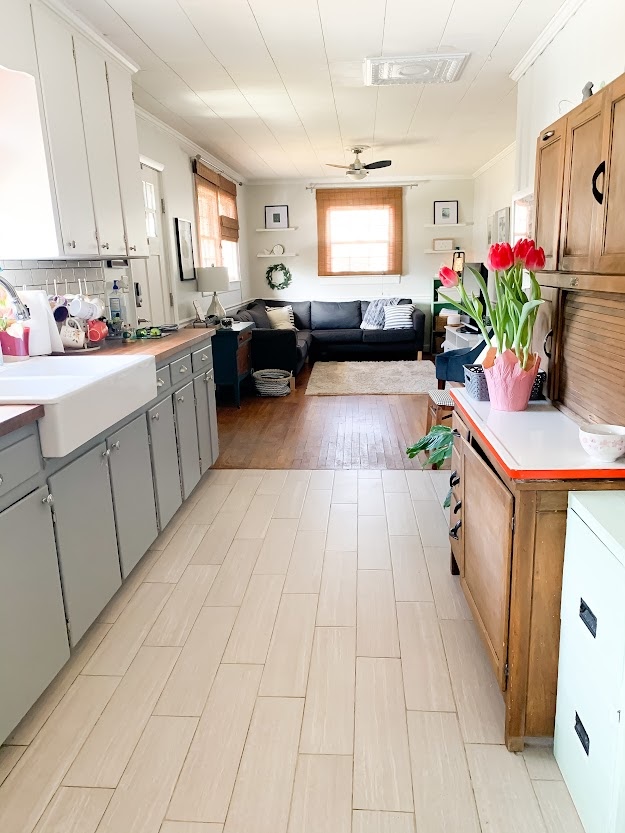
The plan for our house is to take it pretty much down to the foundation (save a few exterior walls) and build it back up. We are keeping the exact footprint - with a small extra foundation being added to the front and also adding a second floor. All of the current electric, plumbing and hvac are being removed and completely redone and the current floorpan is completely refigured. Where you see the eat in kitchen area below...that will be our laundry/mud room. Silas' bedroom and our living room is now our Primary bedroom suite and the kitchen is being moved to where our old bedroom, laundry and spare room was. It's completely different and brand new.
So many people ask us what our timeline is....y'all I wish I had an answer. Right now we are trying to do it as quickly as we can. We have to wait for subcontractor availability, things like windows are taking a long time to get. It's all dependent on so many factors. But...we do know it will be done and it will be amazing.
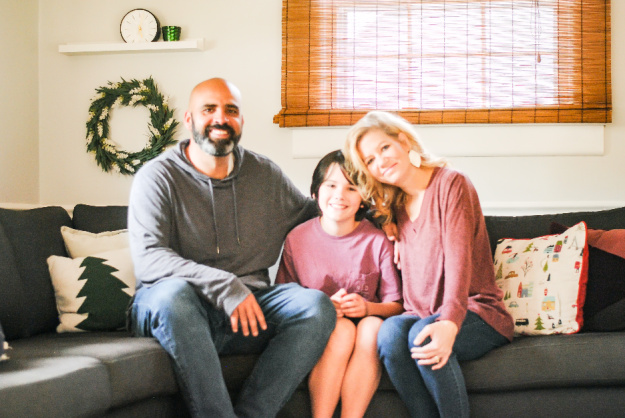
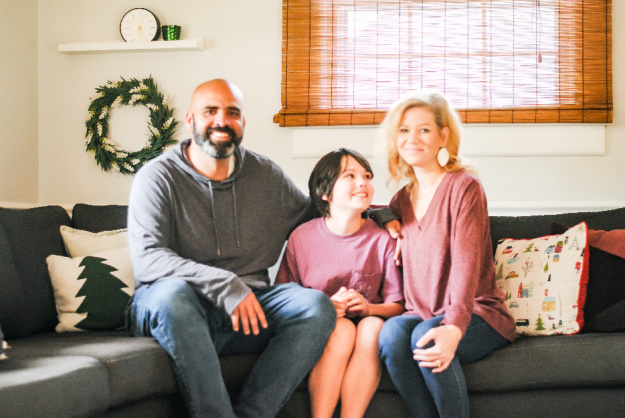
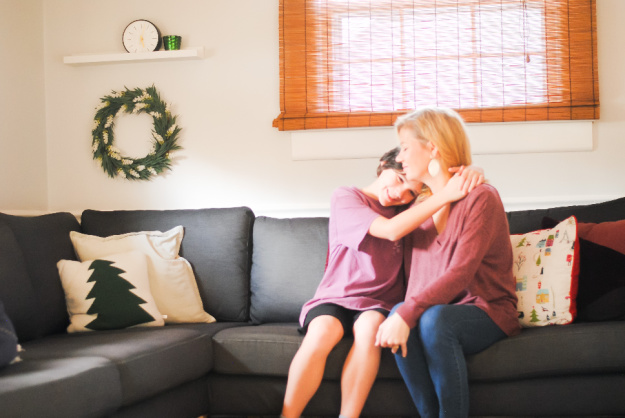
We took those first few pics of us in our house right before we moved out. Literally we had boxes all over the place the other side of the camera. We saved that little space to grab our last moments together in our home. There are so many memories we will cherish. And it's also weird bc our house is still going to be our house - just different? So, it's bittersweet but exciting and all the feelings.
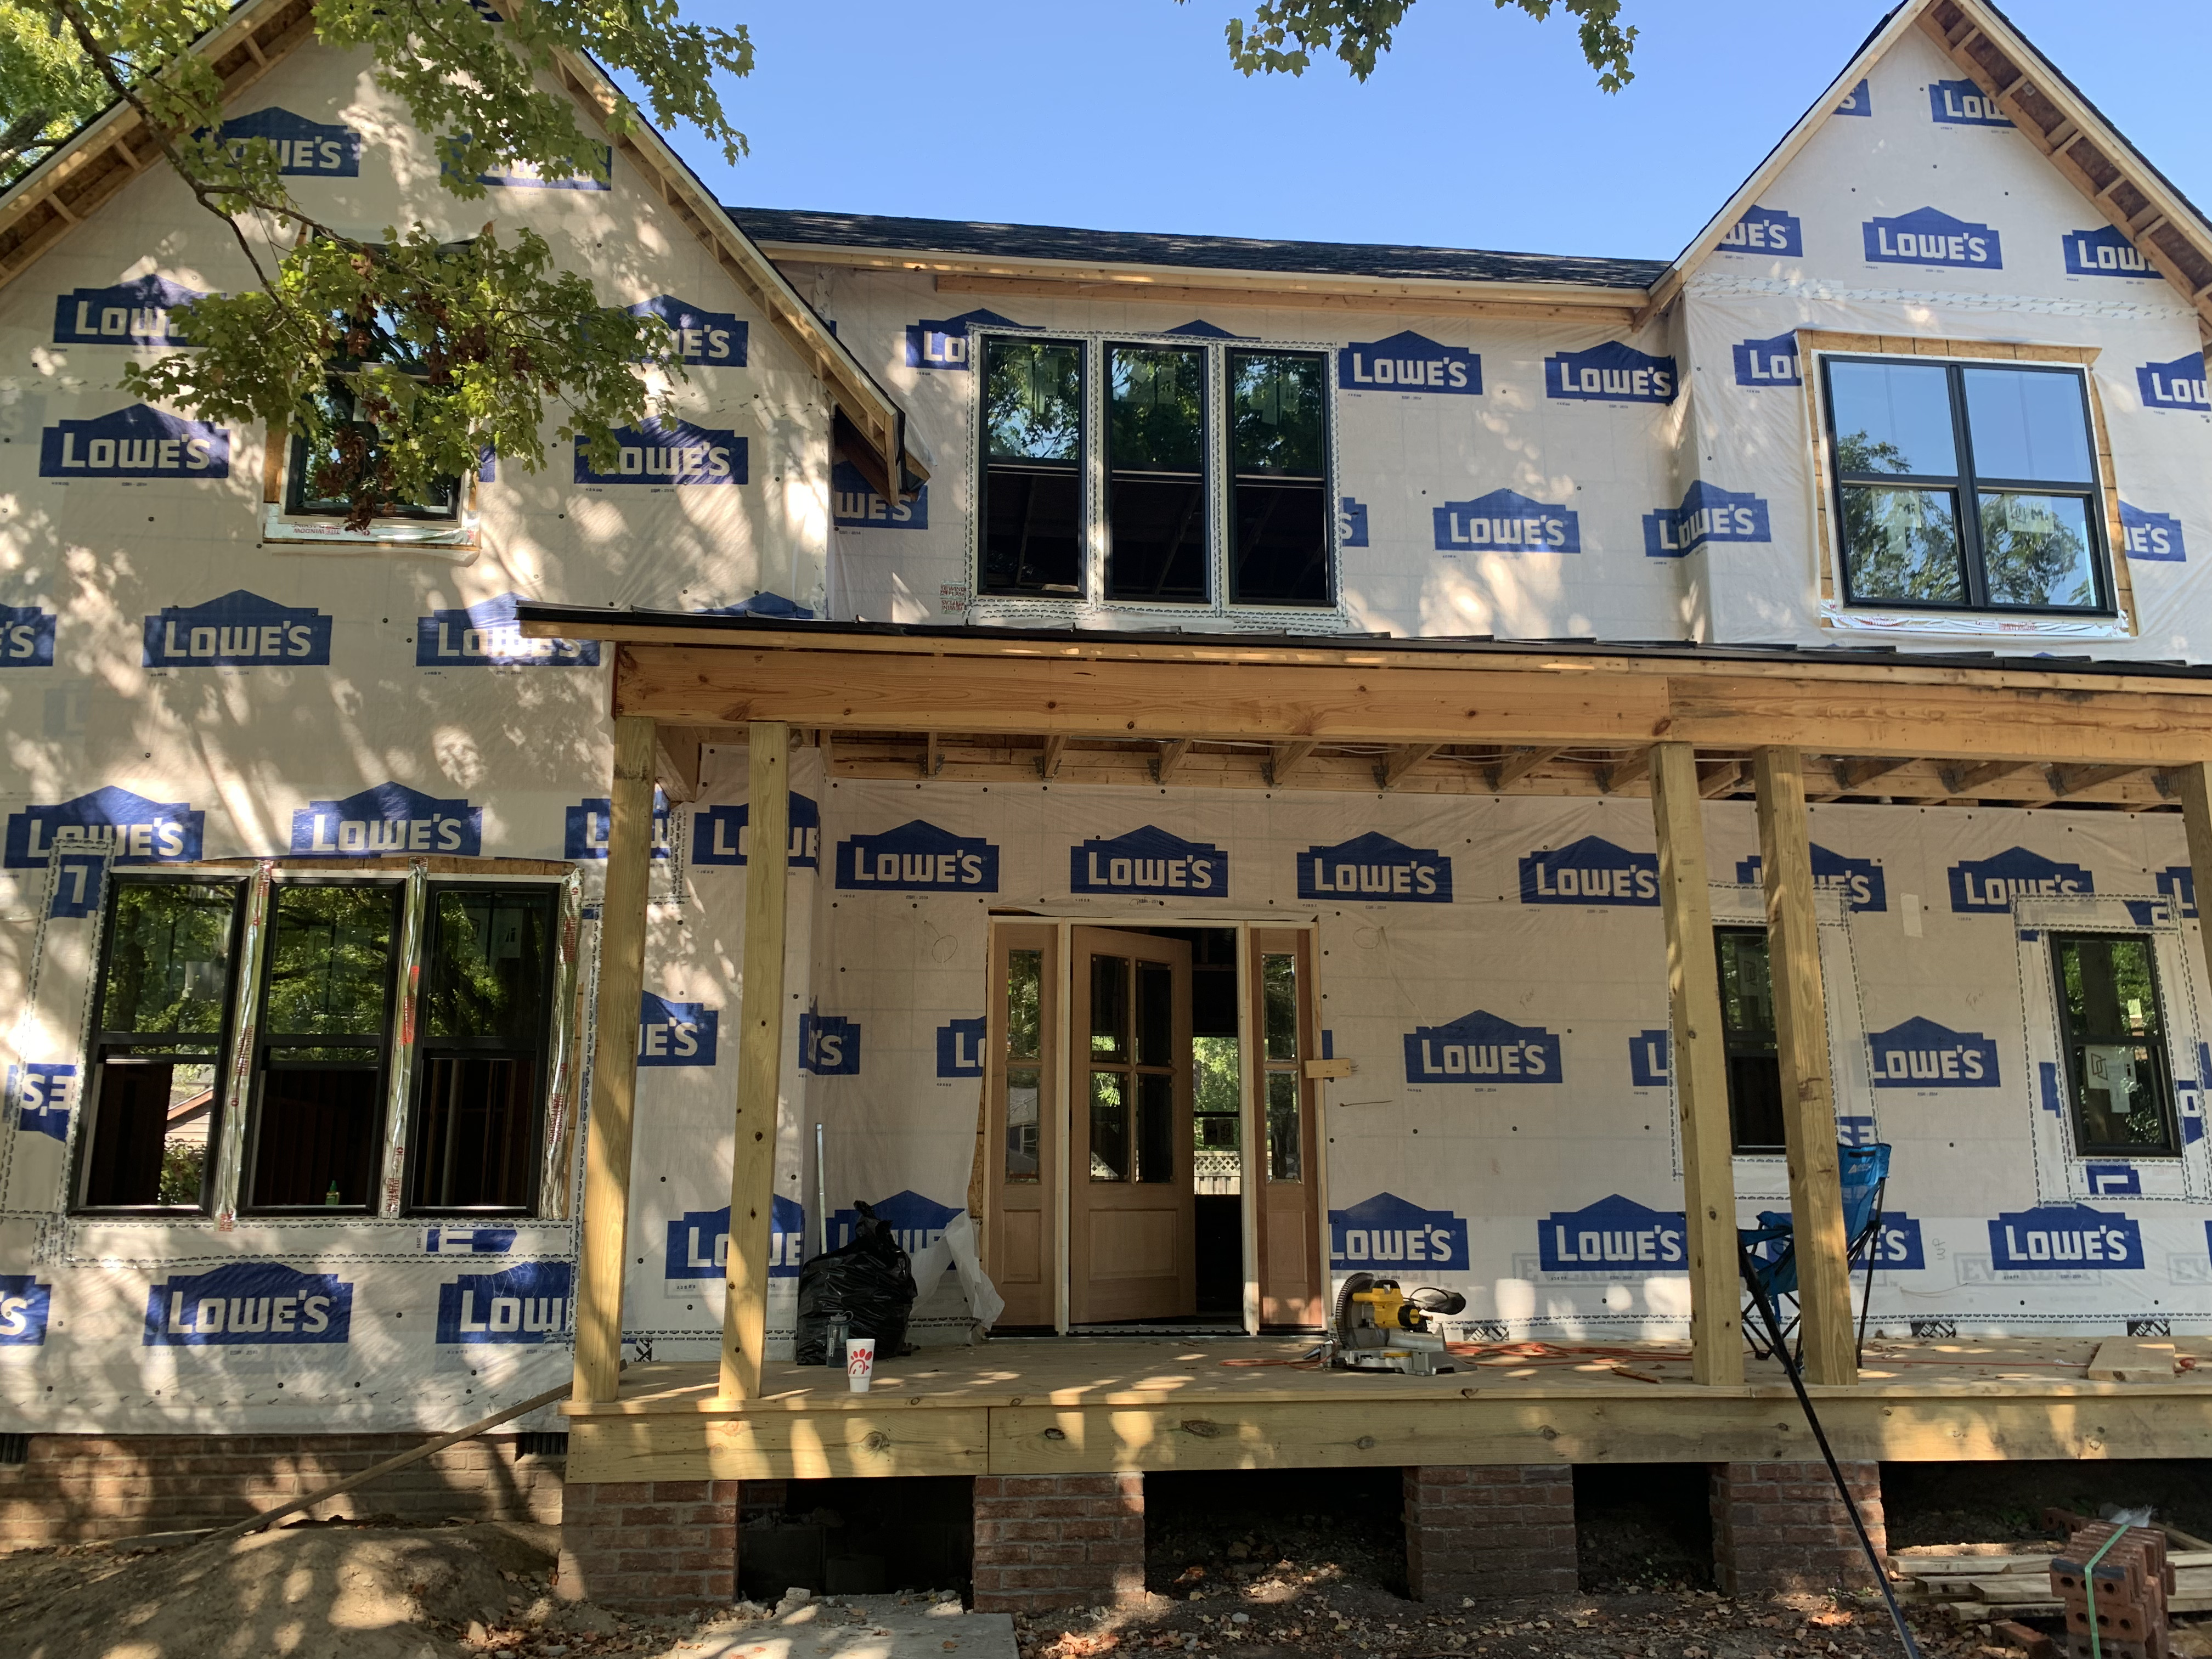
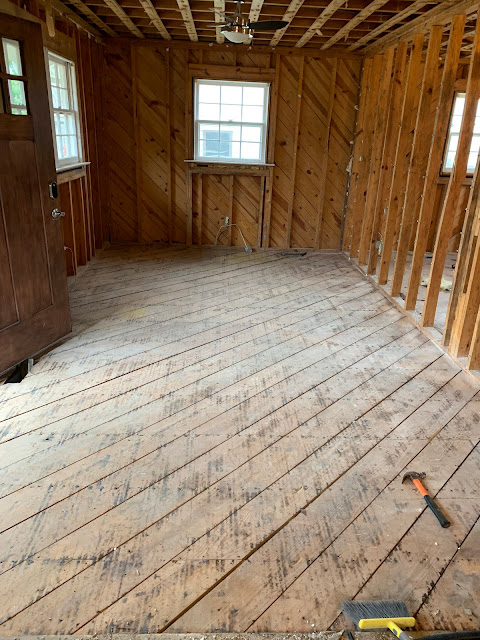
Below is the most current picture of the house. It's almost gutted. Justin does this in his spare time, weekends, nights, etc. In a couple of weeks we have an abatement company coming to remove our lovely asbestos we discovered and then it's go time. Foundation repairs, foundation extension, roof removal....it's going to get crazy.
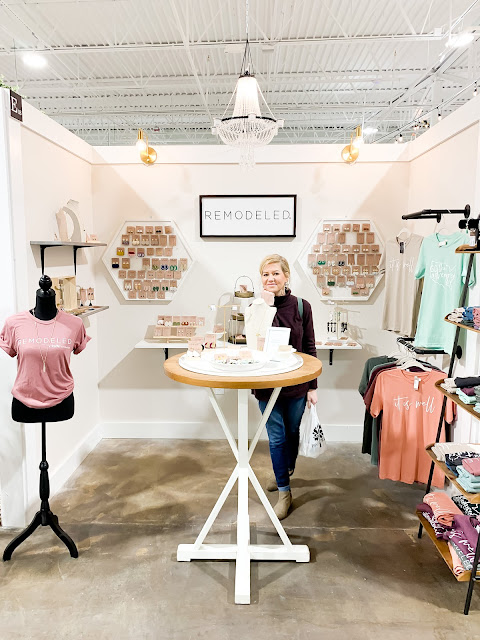
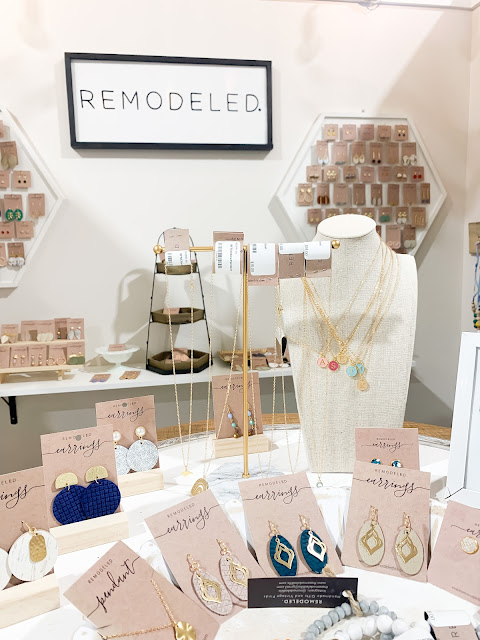
Because starting a new home Reno isn't enough I also had the opportunity to start a new business and open up my own little shop in Cary. This was also a crazy whirlwind of events but it truly has been a blessing for us so far. Remodeled has evolved and become something so sweet for me. Now, it's taking on a new adventure as making a brand for itself.
Table is from Hobby Lobby
My space is in the
Painted Tree Boutiques in Crossroads. You can find lots of unique handmade jewelry, tees and hats designed by me and hopefully even more fun things soon. The whole store is a beautiful way to support local small businesses. I'm so thankful for the support already given. It was kind of scary to do something new and put myself out there. It's one thing to sell
on Etsy or at a weekend event..but this is more permanent. It was a major commitment and honestly a dream come true for me. I'm so glad I took the leap and went for it. When I was a kid one of my favorite things to "play" was store. I would completely redo one of the rooms in our house into my own store and make my parents come and buy things from me - haha. Am I the only one?
Something I have noticed - just from taking the time to sit and think through our current life station and write a few things down is how much more appreciative and thankful I am. It's so important to take the time to pause and be thankful. We can so easily get caught up in the daily decisions, current news events or disappointments of the day. It's so essential to stop and see what God is doing around you. If you are feeling overwhelmed I encourage you to take some time and write a few things down. To pray over the specific situations bringing you anxiety and to share your story with others. God is in the details of our life, let's not forget that.
PS- As I am opening this blog back up I have been updating some of the pages here.
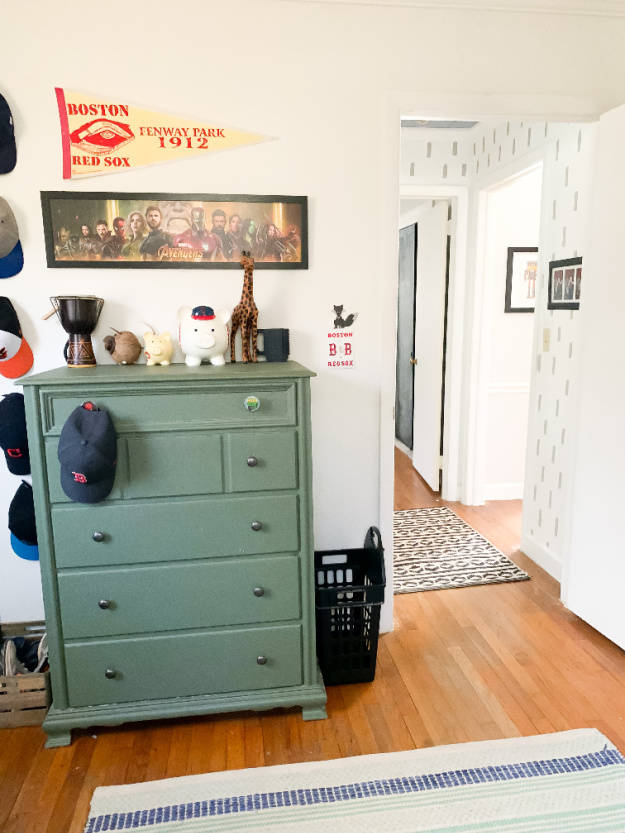
Our House Tour page is updated with how our house looked right before we left and what we had completed in each space. It's funny now because it's all gone - but I wanted to remember it how it was and how sweet those spaces were for us. As always, thanks fo much for taking the time to stop by and spend a moment with me. I am truly grateful!